- Details
- Hits: 9443
Face Comparisons
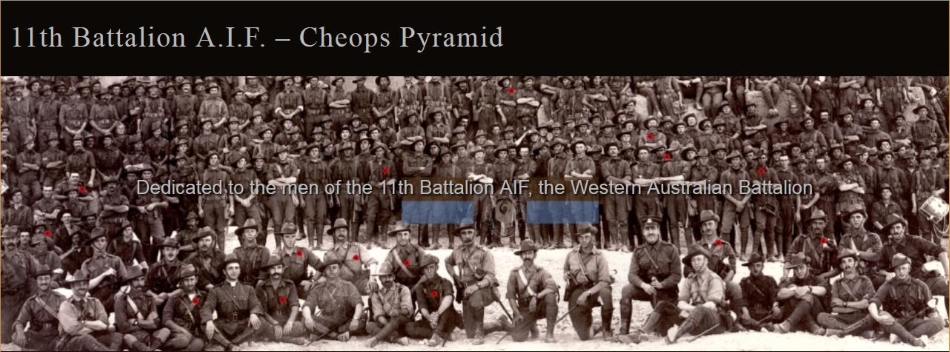
This page is for comparing images of the men in the Khufu photo with other images that we have of the soldier concerned.
The page will be used to enable descendant families to view their soldier in a unique and comparative manner; not all of the soldiers in the Pyramid image will be featured here.
The images shown may change from time to time to enable different families to view their soldier/s. Khufu/Cheops Image crop will be on the left - with a comparison image on right.
The first example shown below is of Cheops ID# 120 (taken on 10 Jan 1915), with a comparative image taken at the Sphinx in late March 1915. This soldier has been positively identified as 136 Private (later Captain) Frederick Albrecht.
NOTE: If the full comparison image is not showing refresh your browser.
Click and use the green slider to move/slide between images in the combined image below.
Other soldiers are shown below, some may yet to be positively identified
|
Cheops ID# 024 - ID Confirmed 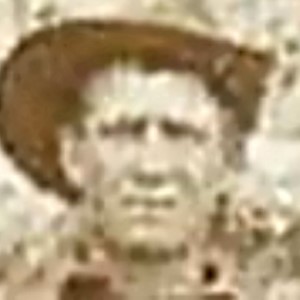 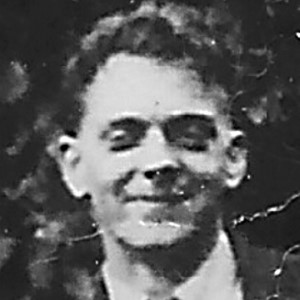 |
Cheops ID# 120 - Confirmed 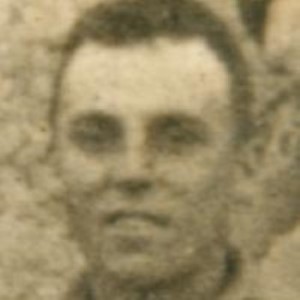 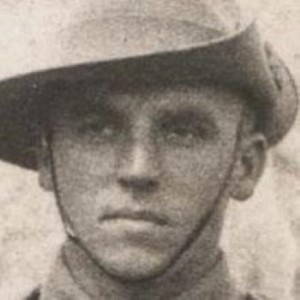 |
|
Cheops ID# 196 - Confirmed 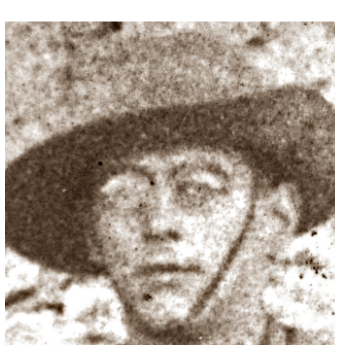 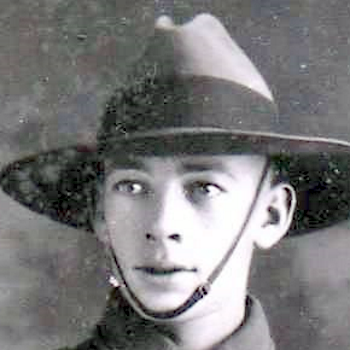 |
Cheops ID# 397 - Confirmed 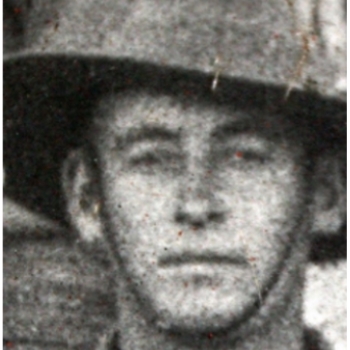 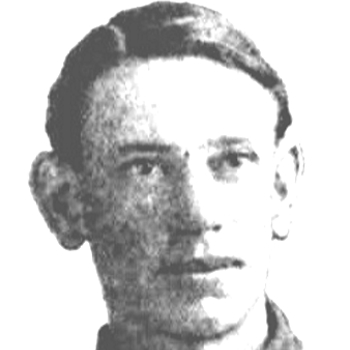 |
|
Cheops ID# 284 - Confirmed 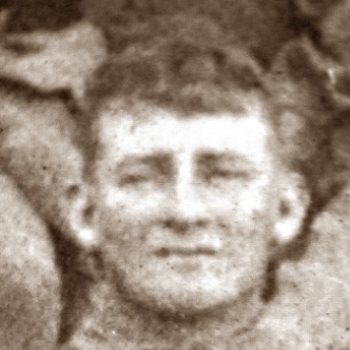 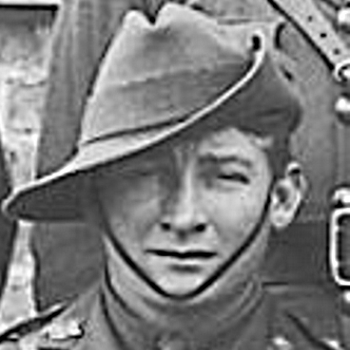 |
Cheops ID# 373 - Unconfirmed 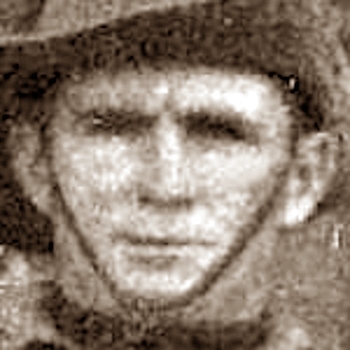 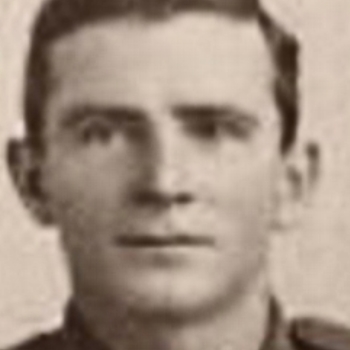 |
|
Cheops ID# 136 - Unconfirmed 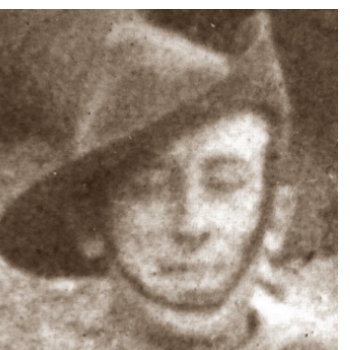 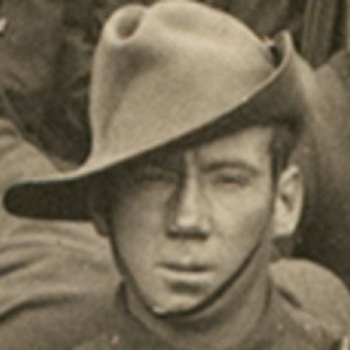 |
- Details
- Hits: 7968
11th Battalion Cheops Photo thumbnail images
The thumbnail images shown in the grid row pages have been taken from the Cheops photo. Some of the thumbnail images on these pages may have been digitally altered to remove blemishes that appear in the original Cheops Pyramid photo. Some of these blemishes are the result of wear and tear or spillage. Minor alterations may have been made in an endeavour to make the thumbnail images clearer.
Click here for link to original photo & grid photo. Click on the page links below to view thumbnails of men in their respective rows.
- Details
- Hits: 8412
Men in row A - ID #'s 1 to 30 (30 men)
Thumbnail images of the 30 soldiers in row A are shown below. 
9 identified, 4 verified, 5 to be confirmed; 4 ![]() are known to have died as a result of their service, including 1 Gallipoli death **
are known to have died as a result of their service, including 1 Gallipoli death **
If you know any of the men in these photos, please send your details and a supporting image by email to Chris or Julie at:
This email address is being protected from spambots. You need JavaScript enabled to view it.
Soldiers names will be added as they are identified.
- Details
- Hits: 7663
Men in row B - ID #'s 31 to 97 + 1 (68 men)
Thumbnail images of the 67 soldiers in row B are shown below. 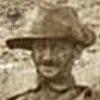
10 identified, 6 verified, 4 to be confirmed; 3 ![]() known to have died as a result of their service, including 0 Gallipoli deaths **.
known to have died as a result of their service, including 0 Gallipoli deaths **.
If you know any of the men in these photos, please send your details and a supporting image by email to Chris or Julie at:
This email address is being protected from spambots. You need JavaScript enabled to view it.
Soldiers names will be added as they are identified.
- Details
- Hits: 27898
Men in row C - ID #'s 98 to 164 (67 men)
Thumbnail images of the 67 soldiers in row C are shown below. 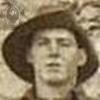
13 identified, 6 verified, 7 to be confirmed; 2 ![]() known to have died as a result of their service, including at 0 Gallipoli **
known to have died as a result of their service, including at 0 Gallipoli **
If you know any of the men in these photos, please send your details and a supporting image by email to Chris or Julie at:
This email address is being protected from spambots. You need JavaScript enabled to view it.
Soldiers names will be added as they are identified.
- Details
- Hits: 6887
Men in row D - ID #'s 165 to 236 (72 men)
Thumbnail images of the 72 soldiers in row D are shown below. 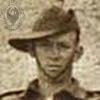
19 identified, 12 verified, 7 to be confirmed; 5 ![]() known to have died as a result of their service, including 1 at Gallipoli **
known to have died as a result of their service, including 1 at Gallipoli **
If you know any of the men in these photos, please send your details and a supporting image by email to Chris or Julie at:
This email address is being protected from spambots. You need JavaScript enabled to view it.
Names will be added as they are identified.
- Details
- Hits: 6410
Men in row E - ID #'s 237 to 305 (69 men)
Thumbnail images of the 69 soldiers in row E are shown below. 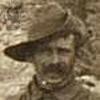
19 identified, 9 verified, 10 to be confirmed; 4 ![]() known to have died as a result of their service, including at 2 Gallipoli **
known to have died as a result of their service, including at 2 Gallipoli **
If you know any of the men in these photos, please send your details and a supporting image by email to Chris or Julie at:
This email address is being protected from spambots. You need JavaScript enabled to view it.
Names will be added as they are identified.
- Details
- Hits: 5382
Men in row F - ID #'s 306 to 349 (44 men)
Thumbnail images of the 44 soldiers in row F are shown below. 
12 identified, 8 verified, 4 to be confirmed; 4 ![]() known to have died as a result of their service, including 3 at Gallipoli **
known to have died as a result of their service, including 3 at Gallipoli **
If you know any of the men in these photos, please send your details and a supporting image by email to Chris or Julie at:
This email address is being protected from spambots. You need JavaScript enabled to view it.
Names will be added as they are identified.
- Details
- Hits: 5755
Men in row G - ID #'s 350 to 400 (51 men)
Thumbnail images of the 51 soldiers in row G are shown below. 
17 identified, 10 verified, 7 to be confirmed; 5 ![]() known to have died as a result of their service, including 4 at Gallipoli **
known to have died as a result of their service, including 4 at Gallipoli **
If you know any of the men in these photos, please send your details and a supporting image by email to Chris or Julie at:
This email address is being protected from spambots. You need JavaScript enabled to view it.
Names will be added as they are identified.
- Details
- Hits: 5192
Men in row H - ID #'s 401 to 434 (34 men)
Thumbnail images of the 34 soldiers in row H are shown below. 
12 identified, 8 verified, 4 to be confirmed; 1 ![]() known to have died as a result of their service, includes 0 at Gallipoli **
known to have died as a result of their service, includes 0 at Gallipoli **
If you know any of the men in these photos, please send your details and a supporting image by email to Chris or Julie at:
This email address is being protected from spambots. You need JavaScript enabled to view it.
Names will be added as they are identified.
- Details
- Hits: 5490
Men in row I - ID #'s 435 to 524 (89 men)
Thumbnail images of the 89 soldiers in row I are shown below (Note: ID#440 is out of sequence & in row J). 
21 identified, 13 verified, 8 to be confirmed; 7 ![]() known to have died as a result of their service, including 4 at Gallipoli **
known to have died as a result of their service, including 4 at Gallipoli **
If you know any of the men in these photos, please send your details and a supporting image by email to Chris or Julie at:
This email address is being protected from spambots. You need JavaScript enabled to view it.
Names will be added as they are identified.
- Details
- Hits: 5774
Men in row J - ID #'s 525 to 651 (*128 men)
Thumbnail images of the 128 soldiers in row J are shown below. (* Note: ID#440 is out of sequence & included in grid row J). 
35 identified, 24 verified, 11 to be confirmed; 14 ![]() known to have died as a result of their service, including 9 at Gallipoli **
known to have died as a result of their service, including 9 at Gallipoli **
If you know any of the men in these photos, please send your details and a supporting image by email to Chris or Julie at:
This email address is being protected from spambots. You need JavaScript enabled to view it.
Names will be added as they are identified.
- Details
- Hits: 4835
Men in row K - ID #'s 652 to 674 (23 men)
Thumbnail images of the 23 soldiers in row K are shown below. 
14 identified, 11 verified, 3 to be confirmed; 4 ![]() known to have died as a result of their service, including 3 at Gallipoli **
known to have died as a result of their service, including 3 at Gallipoli **
If you know any of the men in these photos, please send your details and a supporting image by email to Chris or Julie at:
This email address is being protected from spambots. You need JavaScript enabled to view it.
Names will be added as they are identified.
- Details
- Hits: 5489
Men in row L - ID #'s 675 to 703 (29 men)
Thumbnail images of the 29 soldiers in row L are shown below, they are primarily the Officers of the Battalion.
All but 2 (676 & 678) of the men in this row (L) have been identified.
27 identified, 27 verified, 0 to be confirmed; 7 ![]() known to have died as a result of their service, including 6 at Gallipoli **
known to have died as a result of their service, including 6 at Gallipoli **
If you know any of the men in these photos, please send your details and a supporting image by email to Chris or Julie at:
This email address is being protected from spambots. You need JavaScript enabled to view it.
